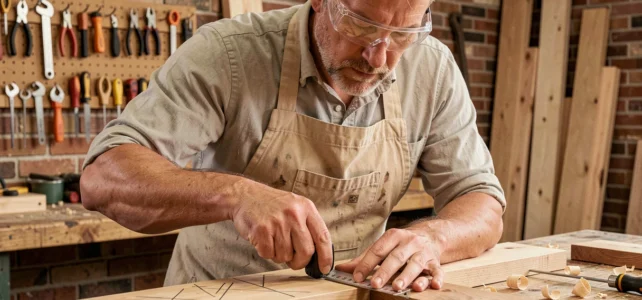
A raw board placed on two trestles can become a real dining table in a weekend. The project requires neither a professional workshop nor advanced woodworking skills. It mainly requires careful preparation of three things: the choice of wood, the assembly method, and the finish. The rest follows naturally, provided that no steps are skipped.
Traceability of DIY wood: what changes with the European regulation
Before entering a sawmill or a DIY store, one point deserves your attention. Regulation (EU) No. 2023/1115, known as the EUTR, requires that wood products sold in the European Union are free from deforestation and legally produced. Its application is scheduled for December 30, 2026, for large and medium-sized enterprises in the wood sector.
For an individual purchasing boards, the consequence is concrete: retailers will need to provide detailed traceability, including plot coordinates and proof of non-deforestation. In practice, prioritize woods with an FSC or PEFC label whose certificate number can be verified online. The Bois de France label additionally guarantees a national origin.
Checking this number on the invoice or product sheet takes two minutes. It’s a simple reflex that prevents inadvertently supporting dubious supply chains. When deciding to make a homemade wooden table, it’s best that the wood is impeccable from the start.
Wood species and board thickness: two choices that determine the entire project
Have you ever noticed that a pine table and an oak table age quite differently? The species determines hardness, shock resistance, and behavior in relation to humidity. For a dining table used daily, hardwood remains the most durable choice: oak, beech, ash, or walnut withstand knocks and stains much better than softwoods.
Pine or spruce are cheaper and easy to work with. They are suitable for a side table, a desk, or protected outdoor use. For a family dining table, their softness makes them vulnerable to knife marks and glass rings.
What thickness for the tabletop?
A board that is too thin warps. A board that is too thick complicates cutting and adds weight to the table. Boards with a thickness of 25 to 30 mm offer a good compromise between rigidity and ease of handling. Below that, the tabletop risks sagging in the center if the table exceeds one meter in length.
Buy your boards already planed if you do not own a jointer. Most DIY stores offer four-sided planed wood, ready to sand. This saves several hours of preparation.
Assembling the tabletop without a doweling machine: the glue and clamps method
Competitors often detail assemblies using dowels or biscuits. These techniques yield excellent results, but they require specific tools. Why choose a simpler method? Because most occasional DIYers do not own a doweling machine or biscuit jointer.
An edge-to-edge glue with D3 vinyl glue holds perfectly for an indoor table. Here are the concrete steps:
- Align your boards on a flat surface, with the best side facing down. Alternate the direction of the visible growth rings on the edge (one ring facing up, the next facing down) to limit future warping.
- Apply a consistent bead of D3 glue on each edge, then clamp the whole assembly with at least three clamps distributed along the length. Wipe off any excess glue immediately with a damp cloth.
- Let it dry for a minimum of twelve hours before removing the clamps. Check that the surface is flat by placing a straightedge across.
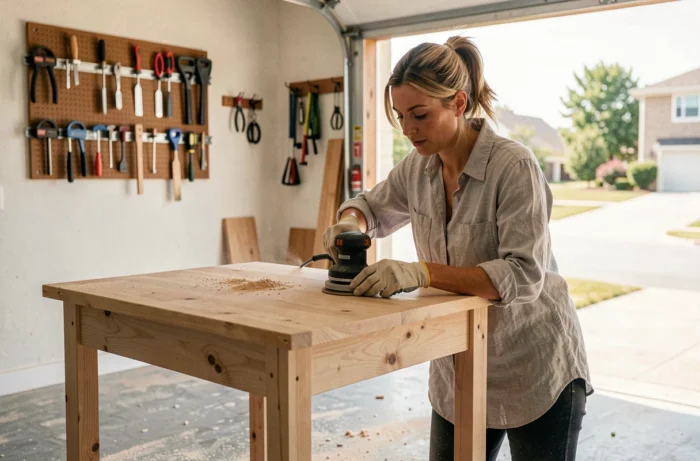
- Then sand the surface of the tabletop starting with medium grit, finishing with fine grit for a smooth touch.
Attaching the legs: screwed crossbars or metal plates
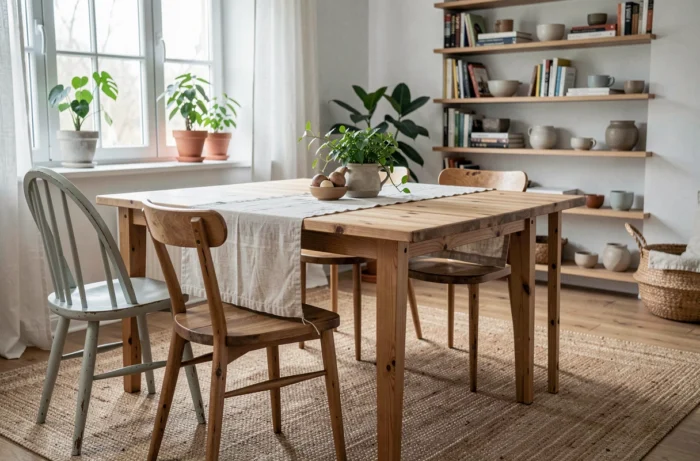
The tabletop alone does not make a table. The attachment of the legs determines the stability of the whole. Two simple options work well without mortise and tenon.
The first: screw two perpendicular crossbars under the tabletop (set back from the edges), then attach the legs to the ends of these crossbars. The second: use screw-on metal plates directly under the tabletop, sold with steel or turned wooden legs. This option is the quickest and only requires a drill/driver.
In both cases, always pre-drill before screwing into solid wood. A pilot hole prevents splitting, especially near the edges.
Finishing and protecting the tabletop: oil, varnish, or wax
A raw tabletop stains from the first meal. The finish protects the wood and reveals its grain. Each option behaves differently:
- Oil (linseed, tung, hard oil) penetrates the fiber and leaves a natural touch. It requires one to two coats, with light sanding between each. Oil is easily renewed by applying a local coat over a scratch or stain.
- Varnish forms a surface film, more resistant to liquids. It gives the tabletop a slightly glossy or satin finish depending on the formula. Fine sanding between coats ensures adhesion.
- Wax gives a soft and matte appearance. It offers decent protection but is less durable than oil or varnish. It is better suited for a side table than for a family dining table.
Whichever product you choose, apply the finish in a ventilated space and respect the drying time indicated on the container. A rushed finish is immediately visible and degrades quickly.
Making your own solid wood table is a project that can be completed in a weekend if the boards are purchased planed and the legs are attached with plates. The key factor that makes the difference between a wobbly table and a solid piece of furniture is neither the budget nor the tools: it is the drying time respected at each stage, both for gluing and finishing.